First steps with CARLA
The CARLA simulator is a comprehensive solution for producing synthetic training data for applications in autonomous driving (AD) and also other robotics applications. CARLA simulates a highly realistic environment emulating real world towns, cities and highways and the vehicles and other objects that occupy these driving spaces.
The CARLA simulator is further useful as an evaluation and testing environment. You can deploy the AD agents you have trained within the simulation to test and evaluate their performance and safety, all within the security of a simulated environment, with no risk to hardware or other road users.
In this tutorial, we will cover a standard workflow in CARLA, from launching the server and connecting the client, through to adding vehicles, sensors and generating training data to use for machine learning. This tutorial is meant to be light on details and go as efficiently as possible through the key steps in using CARLA to produce machine learning training data. For further details on each part of the workflow, such as the multitude of vehicles available in the blueprint library or the alternative types of sensors available, please consult the links in the text or browse the left menu.
- Launching CARLA
- Loading a map
- Spectator navigation
- Adding NPCs
- Add sensors
- Animate vehicles
- Assign a vehicle as the Ego Vehicle
- Choose your map
- Choose your vehicles
Launching CARLA and connecting the client
CARLA can be launched using the command line using the executable in Windows or the shell script in Linux. Follow the installation instructions for Linux and Windows then launch CARLA from the command line:
cd /carla/root
./CarlaUE4.sh
To manipulate CARLA through the Python API, we need to connect the Python client to the server through an open port. The client controls the simulator through the client and world objects Open a Python notebook or create a new script, then add the following code to the start of the script or the main function:
import carla
import random

# Connect to the client and retrieve the world object
client = carla.Client('localhost', 2000)
world = client.get_world()
The client object serves to maintain the client's connection to the server and has a number of functions for applying commands and loading or exporting data. We can load an alternative map or reload the current one (resetting to initial state) using the client object.
The port can be chosen as any available port and is set to 2000 by default, you can also choose a host different from localhost by using a computer's IP address. This way, the CARLA server can be run on a networked machine, while the python client can be run from a personal computer. This is particularly useful for differentiating the GPU used for running the CARLA simulator and that used for neural network training, both of which can be highly demanding on graphics hardware.
Note
The following presumes that CARLA is running in the default asynchronous mode. If you have engaged synchronous mode, some of the code in the following sections might not work as expected.
Loading a map
In the CARLA API, the world object provides access to all elements of the simulation, including the map, objects within the map, such as buildings, traffic lights, vehicles and pedestrians. The CARLA server normally loads a default map (normally Town10). If you want to launch CARLA with an alternate map, use the config.py script:
./config.py --map Town05
We can also use the world object to load a map from the client:
client.load_world('Town05')
Please find more information about CARLA maps here.
Spectator navigation
The spectator is a view into the simulation. By default, the spectator opens in a new window when you run the CARLA server on a computer with a screen attached, unless you specify the -RenderOffScreen command line option.
The spectator is helpful to visualize your simulation. Using the spectator, you can familiarize yourself with the map you've loaded, and see the result of any changes you are making, such as adding vehicles, changing the weather, turning on/off various layers of the map and for debugging purposes.
You can fly the spectator around the world using the mouse to control the pitch and yaw of the spectator view and the QWE-ASD keys to move the spectator:
- Q - move upwards (towards the top edge of the window)
-
E - move downwards (towards the lower edge of the window)
-
W - move forwards
- S - move backwards
- A - move left
- D - move right
Left click and drag the mouse in the spectator window up and down to control pitch and left and right to control yaw.
The spectator and its properties can be accessed and manipulated through the Python API:
# Retrieve the spectator object
spectator = world.get_spectator()

# Get the location and rotation of the spectator through its transform
transform = spectator.get_transform()

location = transform.location
rotation = transform.rotation

# Set the spectator with an empty transform
spectator.set_transform(carla.Transform())
# This will set the spectator at the origin of the map, with 0 degrees
# pitch, yaw and roll - a good way to orient yourself in the map
Adding NPCs
Now we've loaded the map and the server is up and running we now need to populate our simulation with some vehicles to simulate a real environment with traffic and other road users or non-player characters (NPCs).
To spawn vehicles, first, we need to select the vehicles we want from the blueprint library.
# Get the blueprint library and filter for the vehicle blueprints
vehicle_blueprints = world.get_blueprint_library().filter('*vehicle*')
Now we have the blueprints, we need to find some appropriate spots in the map to spawn our vehicles. Each CARLA map provides pre-defined spawn points spread evenly throughout the map on the roads for this purpose.
# Get the map's spawn points
spawn_points = world.get_map().get_spawn_points()

# Spawn 50 vehicles randomly distributed throughout the map
# for each spawn point, we choose a random vehicle from the blueprint library
for i in range(0,50):
    world.try_spawn_actor(random.choice(vehicle_blueprints), random.choice(spawn_points))
Now we should also add a vehicle that will be the centerpoint of our simulation. To train an autonomous agent we need to simulate a the vehicle that it the autonomous agent will control. In CARLA parlance, we often refer to this vehicle as the "Ego vehicle".
ego_vehicle = world.spawn_actor(random.choice(vehicle_blueprints), random.choice(spawn_points))
In addition to vehicles, CARLA also provides pedestrians to add to simulations to simulate realistic driving scenarios. Vehicles and pedestrians are referred to as actors in the CARLA parlance, learn more about them here.
Add sensors
Modern autonomous vehicles understand and interpret their environment through an array of attached sensors. These sensors include things such as optical video cameras, optical flow cameras, LIDARs, RADARs and accelerometers. CARLA has models of numerous types of sensors built in to create training data for machine learning. The sensors can be attached to a vehicle, or they can be attached to a fixed point to model for example a CCTV camera.
Here we will attach a standard camera sensor to the ego vehicle to record some video data:
# Create a transform to place the camera on top of the vehicle
camera_init_trans = carla.Transform(carla.Location(z=1.5))

# We create the camera through a blueprint that defines its properties
camera_bp = world.get_blueprint_library().find('sensor.camera.rgb')

# We spawn the camera and attach it to our ego vehicle
camera = world.spawn_actor(camera_bp, camera_init_trans, attach_to=ego_vehicle)
Once we have spawned the camera, we need to set it recording through the listen() method. The listen method takes as argument a callback that defines what to do with the data. You can either stream it to another program or save it to disk.
We will use a lambda function as a callback to save the data to disk:
# Start camera with PyGame callback
camera.listen(lambda image: image.save_to_disk('out/%06d.png' % image.frame))
This will save the data to the out/ folder as a series of PNG image files named according to the simulation frame number.
There are a multitude of different types of sensors to choose from. Here you can delve deeper into the array of sensors available and how to use them.
Animate vehicles with traffic manager
Now we've added our traffic and ego vehicle to the simulation and started recording camera data, we now need to set the vehicles in motion using the Traffic manager. The Traffic manager is a component of CARLA that controls vehicles to autonomously move around the roads of the map within the simulation, following the road conventions and behaving like real road users.
We can find all the vehicles in the simulation using the world.get_actors() method, filtering for all the vehicles. We can then use the set_autopilot() method to hand over control of the vehicle to the Traffic Manager.
for vehicle in world.get_actors().filter('*vehicle*'):
    vehicle.set_autopilot(True)
Now your simulation is running, with numerous vehicles driving around the map and a camera recording data from one of those vehicles. This data can then be used to feed a machine learning algorithm for training an autonomous driving agent. The Traffic manager has many functions for customising traffic behaviour, learn more here.
This is the most basic possible set up for a simulation, now you can go into further details deeper into documentation about the many extra sensors you can use to generate data, and the many other features of CARLA that can make your simulations more detailed and more realistic.
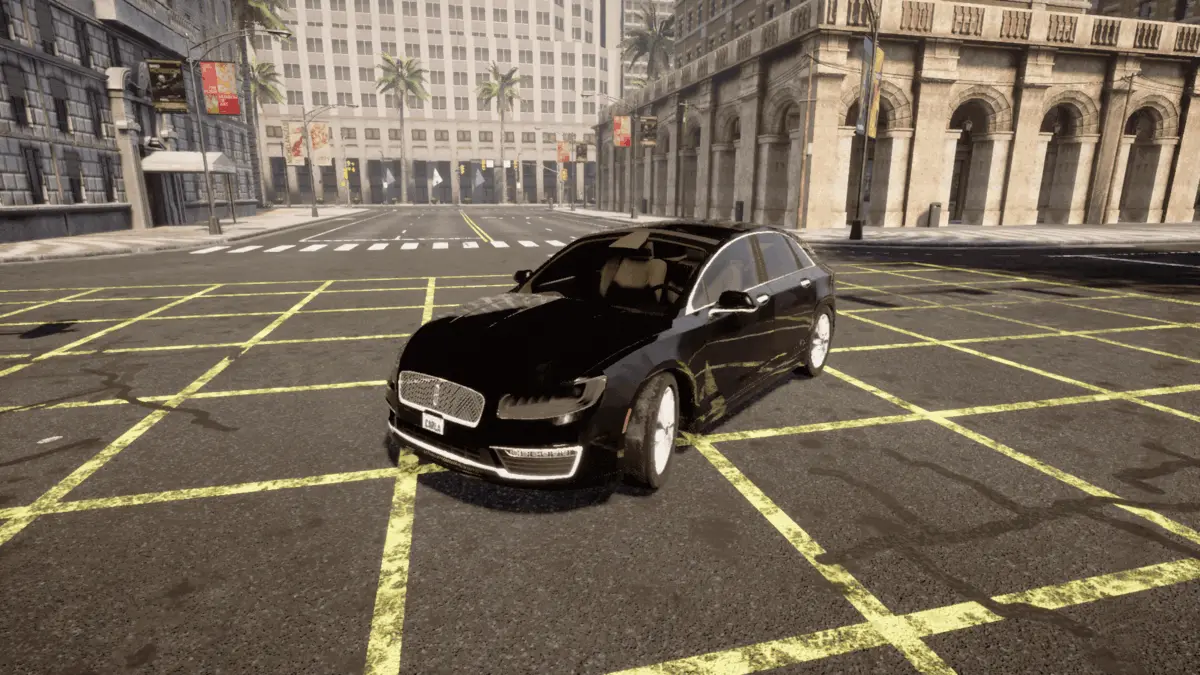
Assign a vehicle as the Ego Vehicle
The Ego Vehicle is an important concept to bear in mind when using CARLA. The Ego Vehicle refers to the vehicle that will be the focus of the simulation. In most CARLA use cases it's likely to be the vehicle to which you will attach your sensors and/or the vehicle that your autonomous driving machine learning stack will control. It is important because it serves as the basis for some simulation operations that help improve the efficiency of the simulation, like for example:
-
Loading map tiles for Large Maps: Large Maps (like Town 12) are made up of tiles to that are only loaded when needed to improve CARLA performance. The position of the Ego Vehicle dictates which tiles are used. Only the tiles nearest the Ego Vehicle will be loaded.
-
Hybrid Physics Mode: if your simulation contains a lot of vehicles controlled by the Traffic Manager, calculating physics for all of these vehicles is very computationally expensive. The Hybrid Physics Mode enables physics calculation to be limited to the vehicles in the vicinity of the Ego Vehicle, hence saving computing resources.
To define the Ego Vehicle, you should set the role_name attribute of the vehicle carla.Actor object's blueprint when you are spawning your Ego Vehicle:
ego_bp = world.get_blueprint_library().find('vehicle.lincoln.mkz_2020')

ego_bp.set_attribute('role_name', 'hero')

ego_vehicle = world.spawn_actor(ego_bp, random.choice(spawn_points))
Choose your map
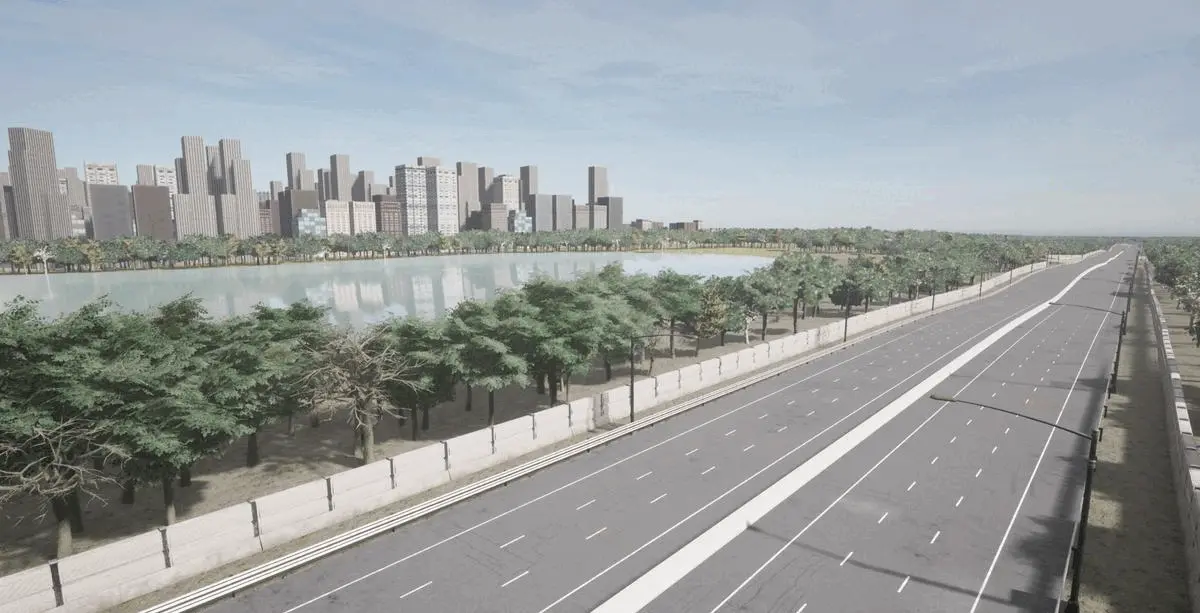
CARLA comes loaded with several pre-made maps focused on providing a diversity of features. The maps present a range of environments such as urban, rural and residential. There are also differing architectural styles and also a multitude of different road layouts from unmarked rural roads to multi-lane highways. Browse the map guides in the catalogue or in the table below.
| Town | Summary |
|---|---|
| Town01 | A small, simple town with a river and several bridges. |
| Town02 | A small simple town with a mixture of residential and commercial buildings. |
| Town03 | A larger, urban map with a roundabout and large junctions. |
| Town04 | A small town embedded in the mountains with a special "figure of 8" infinite highway. |
| Town05 | Squared-grid town with cross junctions and a bridge. It has multiple lanes per direction. Useful to perform lane changes. |
| Town06 | Long many lane highways with many highway entrances and exits. It also has a Michigan left. |
| Town07 | A rural environment with narrow roads, corn, barns and hardly any traffic lights. |
| Town08 | Secret "unseen" town used for the Leaderboard challenge |
| Town09 | Secret "unseen" town used for the Leaderboard challenge |
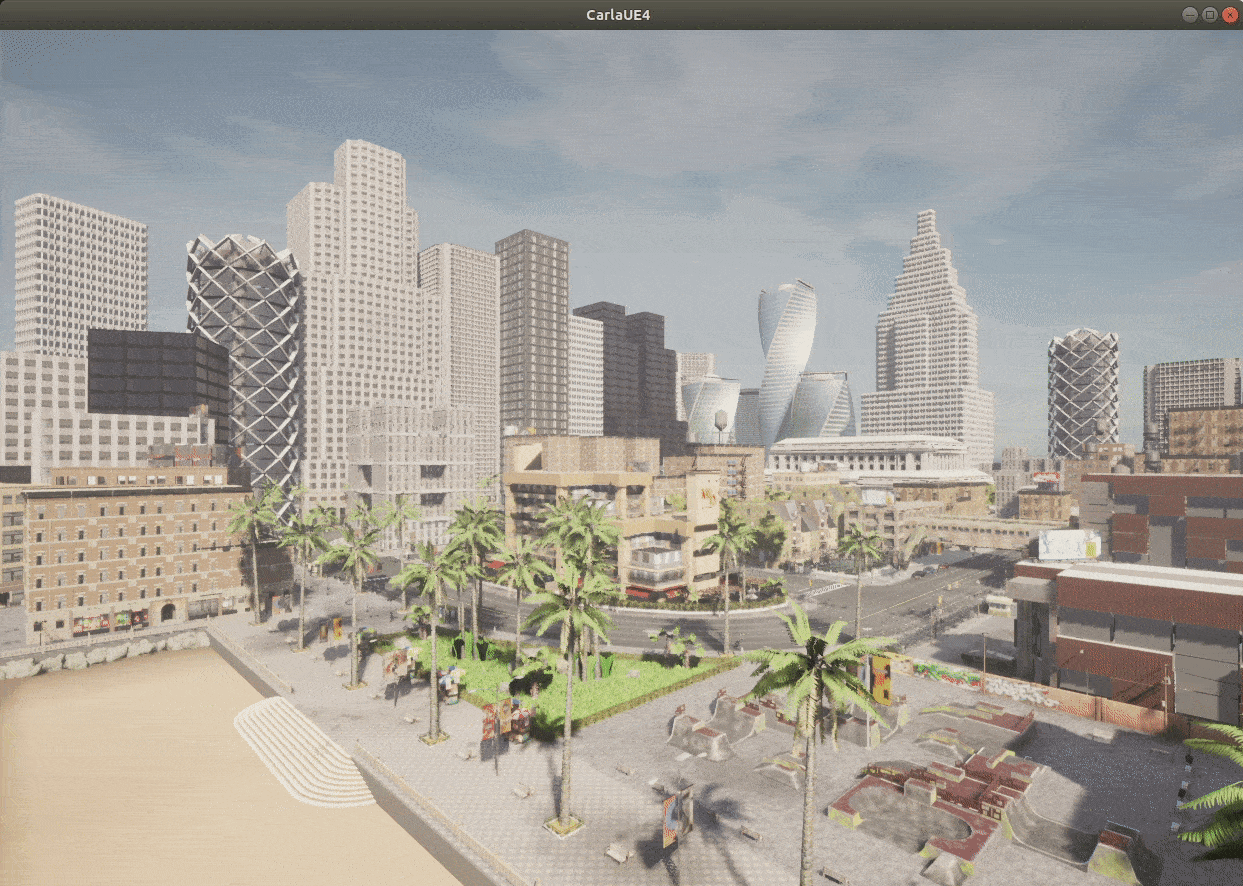
| Town10 | A downtown urban environment with skyscrapers, residential buildings and an ocean promenade. |
| Town11 | A Large Map that is undecorated. |
| Town12 | A Large Map with numerous different regions, including high-rise, residential and rural environments. |
You can browse the available maps in your CARLA installation:
client.get_available_maps()
This will include maps that you have built yourself or imported.
When you choose a map, load it like so:
client.load_world('Town03_Opt')
Choose your vehicles
CARLA provides a library of vehicles to fill your simulation with traffic. Browse the vehicle models in the CARLA vehicle catalogue.
You can see all available vehicle blueprints by filtering the blueprint library.
for bp in world.get_blueprint_library().filter('vehicle'):
    print(bp.id)