Getting started with CARLA
The CARLA simulator is a comprehensive solution for producing synthetic training data for applications in autonomous driving (AD) and also other robotics applications. CARLA simulates a highly realistic environment emulating real world towns, cities and highways and the vehicles and other objects that occupy these driving spaces.
The CARLA simulator is further useful as an evaluation and testing environment. You can deploy the AD agents you have trained within the simulation to test and evaluate their performance and safety, all within the security of a simulated environment, with no risk to hardware or other road users.
In this tutorial, we will cover some of the basic steps of getting started with CARLA, from using the spectator to navigate the environment, populating your simulation with vehicles and pedestrians and then adding sensors and cameras to gather simulated data to feed into neural networks for training or testing.
Starting CARLA and connecting the client
CARLA can be launched using the command line using the executable in Windows or the shell script in Linux. Follow the installation instructions for Linux and Windows then launch CARLA from the command line.
To manipulate CARLA through the Python API, we need to connect the Python client to the server through an open port:
import carla
import random

# Connect to the client and retrieve the world object
client = carla.Client('localhost', 2000)
world = client.get_world()
The client object serves to maintain the client's connection to the server and has a number of functions for applying commands and loading or exporting data. We can load an alternative map or reload the current one (resetting to initial state) using the client object:
# Print available maps
client.get_available_maps()

# Load new map
client.load_world('Town07')

# Reload current map and reset state
client.reload_world()
The port can be chosen as any available port and is 2000 by default, you can also choose a host different from localhost by using a computer's IP address. This way, the CARLA server can be run on a networked machine, while the python client can be run from a personal computer. This is particularly useful for differentiating the GPU used for running the CARLA simulator and that used for neural network training, both of which can be highly demanding on graphics hardware.
Note
The following presumes that CARLA is running in the default asynchronous mode. If you have engaged synchronous mode, some of the code in the following sections might not work as expected.
The world object
In the CARLA API, the world object provides access to all elements of the simulation, including the map, objects within the map, such as buildings, traffic lights, vehicles and pedestrians.
We can use the world object to query and access objects within the simulation:
# Get names of all objects
world.get_names_of_all_objects()

# Filter the list of names for buildings
filter(lambda x: 'Building' in x, world.get_names_of_all_objects())

# Get a list of all actors, such as vehicles and pedestrians
world.get_actors()

# Filter the list to find the vehicles
world.get_actors().filter('*vehicle*')
The world object is used to add things to the simulation, such as vehicles and pedestrians through the spawn methods. Vehicles and pedestrians have a special place within the CARLA simulation since they exhibit behaviors, i.e. they can move around and affect other objects, so we call them actors. This differentiates them from static, inanimate objects like buildings that are just features in the map. Other objects such as traffic lights are also actors since they exhibit behaviors that affect other objects.
To spawn objects, we need a blueprint for the object. Blueprints are recipes containing all the parts necessary for an actor such as the mesh, textures and materials that govern it's appearance within the simulation and all the logic that governs its behavior and physics - how it interacts with other objects in the simulation. Let's find a blueprint for a vehicle and spawn it.
# Get the blueprint library and filter for the vehicle blueprints
vehicle_bps = world.get_blueprint_library().filter('*vehicle*')

# Randomly choose a vehicle blueprint to spawn
vehicle_bp = random.choice(vehicle_bps)

# We need a place to spawn the vehicle that will work so we will
# use the predefined spawn points for the map and randomly select one
spawn_point = random.choice(world.get_map().get_spawn_points())

# Now let's spawn the vehicle
world.spawn_actor(vehicle_bp, spawn_point)
For various reasons, this spawn attempt might fail, so to avoid our code crashing, we can use a fault tolerant spawn method. This returns a NoneType object if the spawn fails. If the spawn succeeds, it will return a reference to the vehicle itself, that can be used to control it in various ways, including applying control inputs to move and steer it, handing over control to the Traffic Manager or destroying it.
vehicle = world.try_spawn_actor(vehicle_bp, spawn_point)
The spawn may fail if there is already a vehicle or other actor at or close to the chosen spawn point, or if the spawn point is in an inappropriate location such as within a building or other static item of the map that's not a road or pavement.
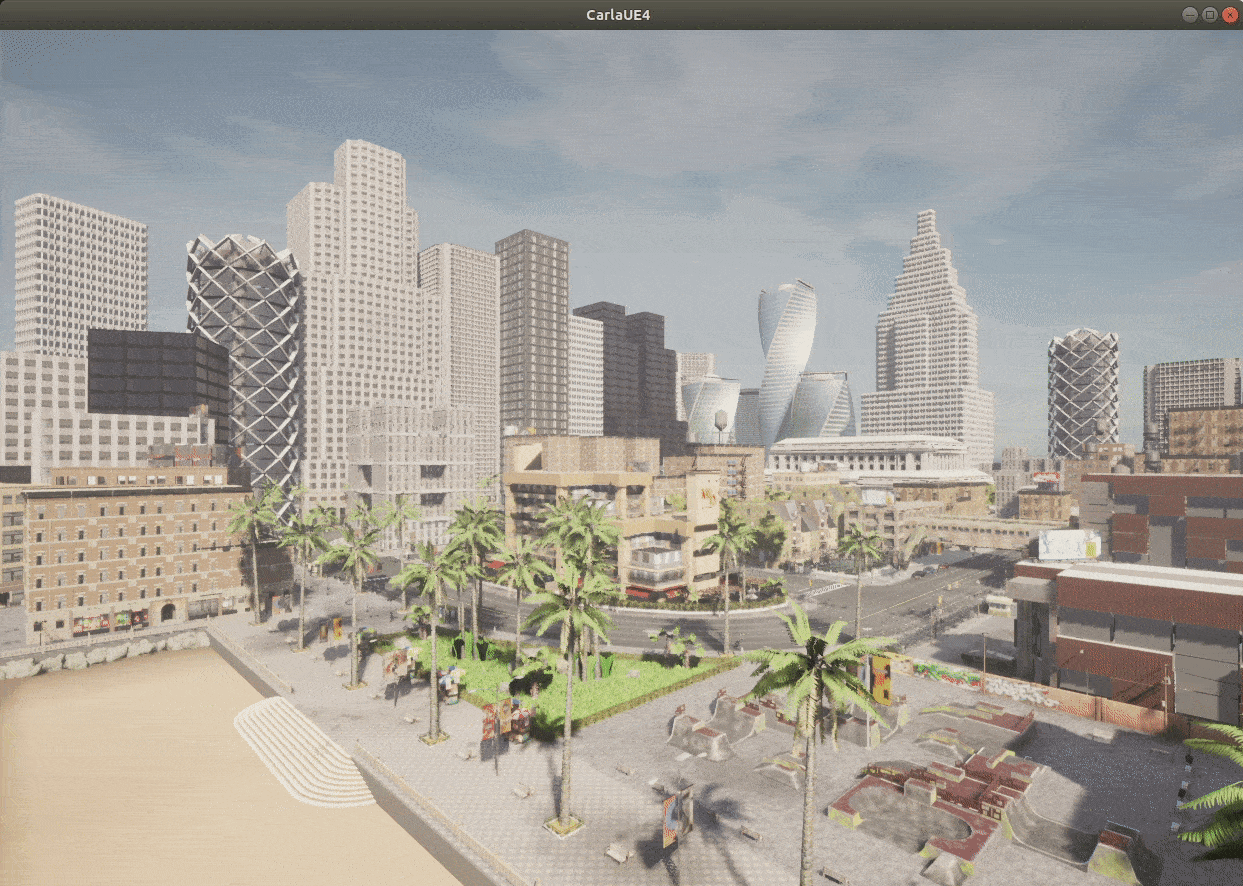
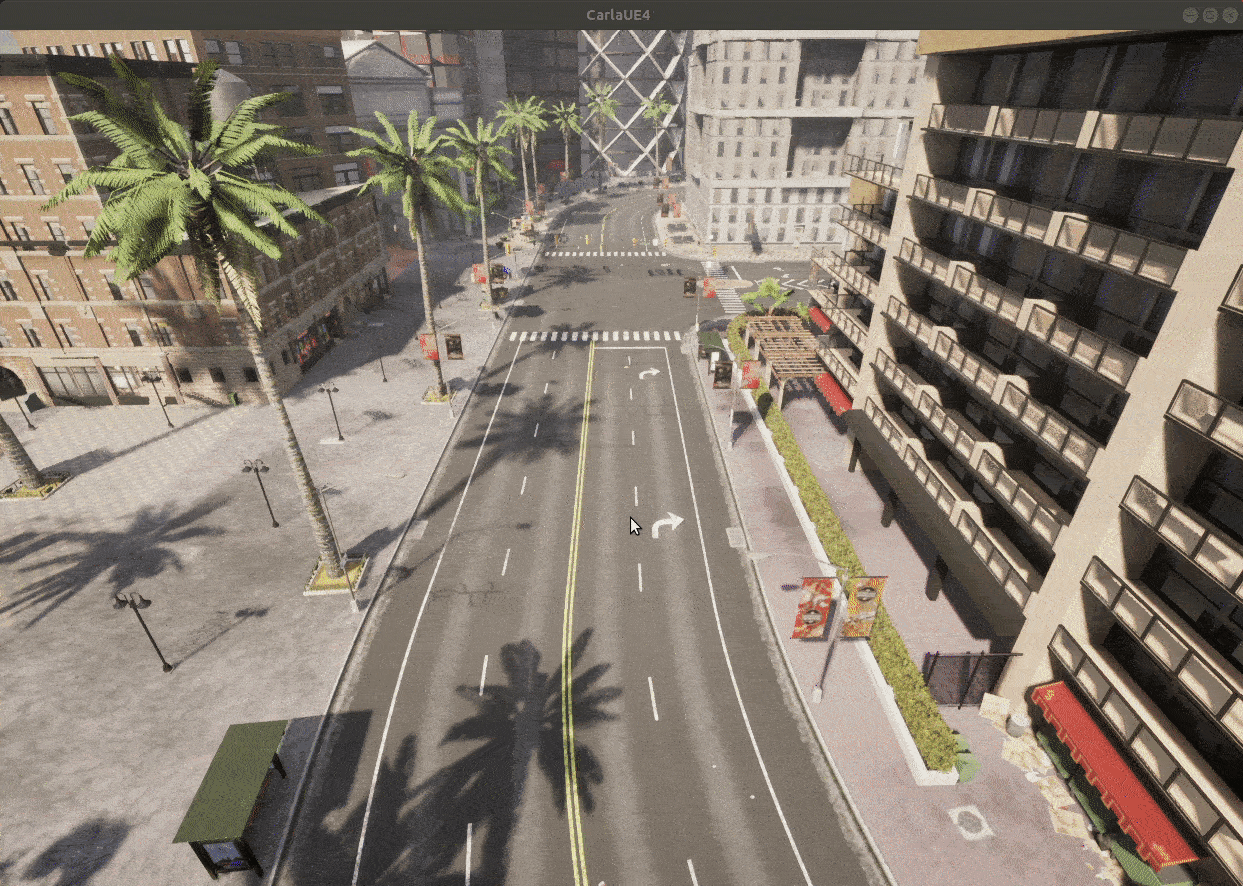
The spectator
The spectator is a view into the simulation. By default, the spectator opens in a new window when you run the CARLA server on a computer with a screen attached, unless you specify the -RenderOffScreen command line option.
The spectator is helpful to visualize your simulation. Using the spectator, you can familiarize yourself with the map you've loaded, and see the result of any changes you are making, such as adding vehicles, changing the weather, turning on/off various layers of the map and for debugging purposes.
You can fly the spectator around the world using the mouse to control the pitch and yaw of the spectator view and the QWE-ASD keys to move the spectator:
- Q - move upwards (towards the top edge of the window)
-
E - move downwards (towards the lower edge of the window)
-
W - move forwards
- S - move backwards
- A - move left
- D - move right
Left click and drag the mouse in the spectator window up and down to control pitch and left and right to control yaw.
The spectator and its properties can be accessed and manipulated through the Python API:
# Retrieve the spectator object
spectator = world.get_spectator()

# Get the location and rotation of the spectator through its transform
transform = spectator.get_transform()

location = transform.location
rotation = transform.rotation

# Set the spectator with an empty transform
spectator.set_transform(carla.Transform())
# This will set the spectator at the origin of the map, with 0 degrees
# pitch, yaw and roll - a good way to orient yourself in the map
Finding a custom spawn point using the spectator
The spectator is particularly useful to verify your actors are spawning correctly and also to determine locations for spawning.
We have two options to define spawn points. We can define our own custom spawn points, or we can use predefined spawn points that are provided with each map.
If we want to define a custom spawn point, we need to know the coordinates of the spawn point. Here we can use the spectator to help us since we can access its location.
First, use the controls defined above to fly the spectator to a point of interest.
Now, let's spawn a vehicle where the spectator is:
vehicle = world.try_spawn_actor(vehicle_bp, spectator.get_transform())
You'll now see a vehicle spawned at the point where the spectator is. It will take on both the location and the rotation of the spectator, so be sure to orient the spectator in the direction you want the vehicle to face. If you navigate close to the ground, the spectator will end up inside the vehicle, and if it is too close to the ground, the spawn may fail. If you spawn the vehicle with the spectator high in the air, the vehicle will drop to the ground.
We can also record this point for later use, manually recording it or printing to a file:
print(spectator.get_transform())

>>> Transform(Location(x=25.761623, y=13.169240, z=0.539901), Rotation(pitch=0.862031, yaw=-2.056274, roll=0.000069))
Using and visualizing map spawn points
Manually defining spawn points is useful for custom scenarios, however, if we need to create a whole city full of traffic, it could be very time consuming. For this reason, each map provides a set of predefined spawn points distributed evenly throughout the map to make creating large volumes of NPC traffic efficient.
# Get the map's spawn points
spawn_points = world.get_map().get_spawn_points()

# Get the blueprint library and filter for the vehicle blueprints
vehicle_bps = world.get_blueprint_library().filter('*vehicle*')

# Spawn 50 vehicles randomly distributed throughout the map
for i in range(0,50):
    world.try_spawn_actor(random.choice(vehicle_bps, random.choice(spawn_points)))
This is useful, however, we don't really know where the vehicles are going to end up. Luckily CARLA's debug tools give us some ways of visualizing locations in the map. For example, if we wanted to be slightly more specific about which spawn points we wanted to use, in the case that we wanted to create congestion in one particular part of town, we could specify a set of spawn points for instantiating new vehicles in the simulation.
To do this, we can visualize the spawn points in the map.
# Get the map spawn points
spawn_points = world.get_map().get_spawn_points()

for i, spawn_point in enumerate(spawn_points):
    # Draw in the spectator window the spawn point index
    world.debug.draw_string(spawn_point.location, str(i), life_time=100)
    # We can also draw an arrow to see the orientation of the spawn point
    # (i.e. which way the vehicle will be facing when spawned)
    world.debug.draw_arrow(spawn_point.location, spawn_point.location + spawn_point.get_forward_vector(), life_time=100)
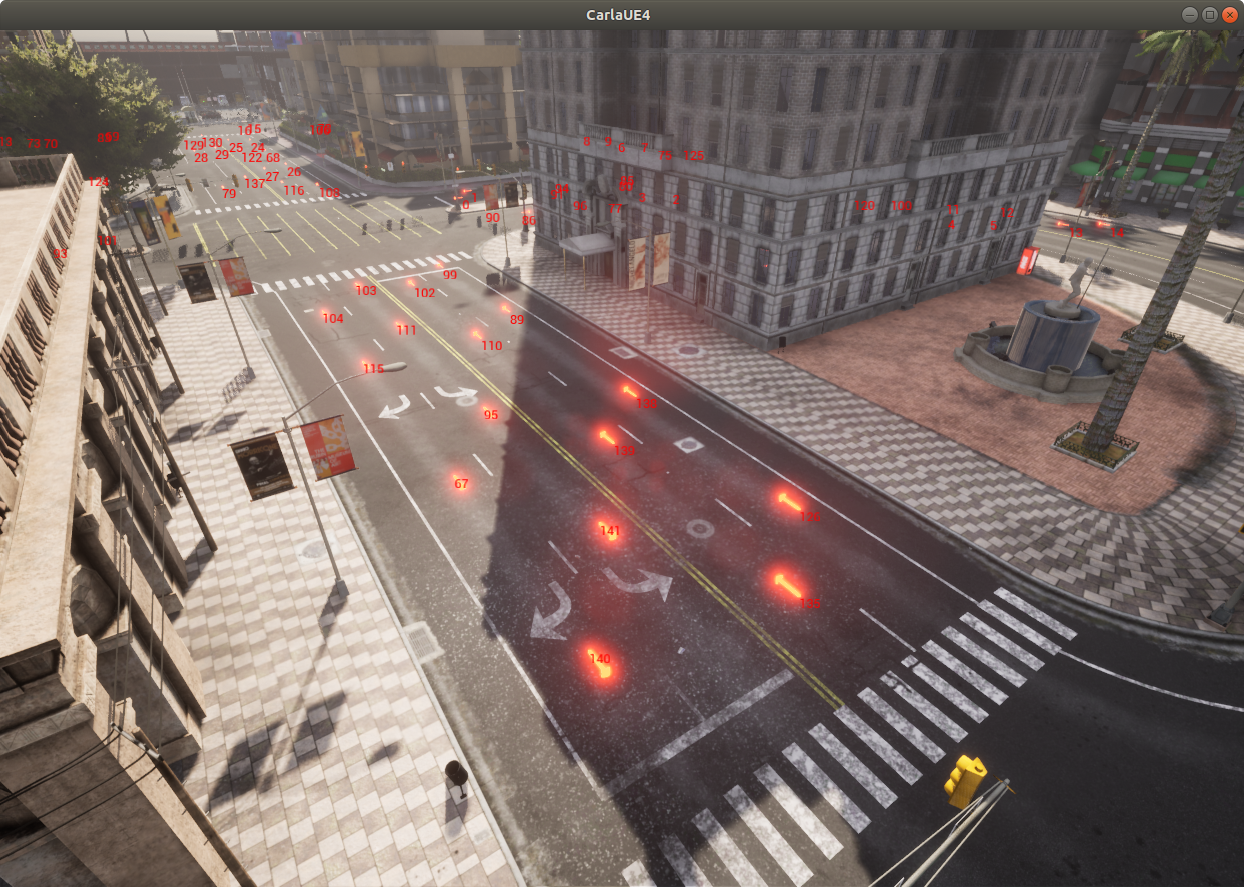
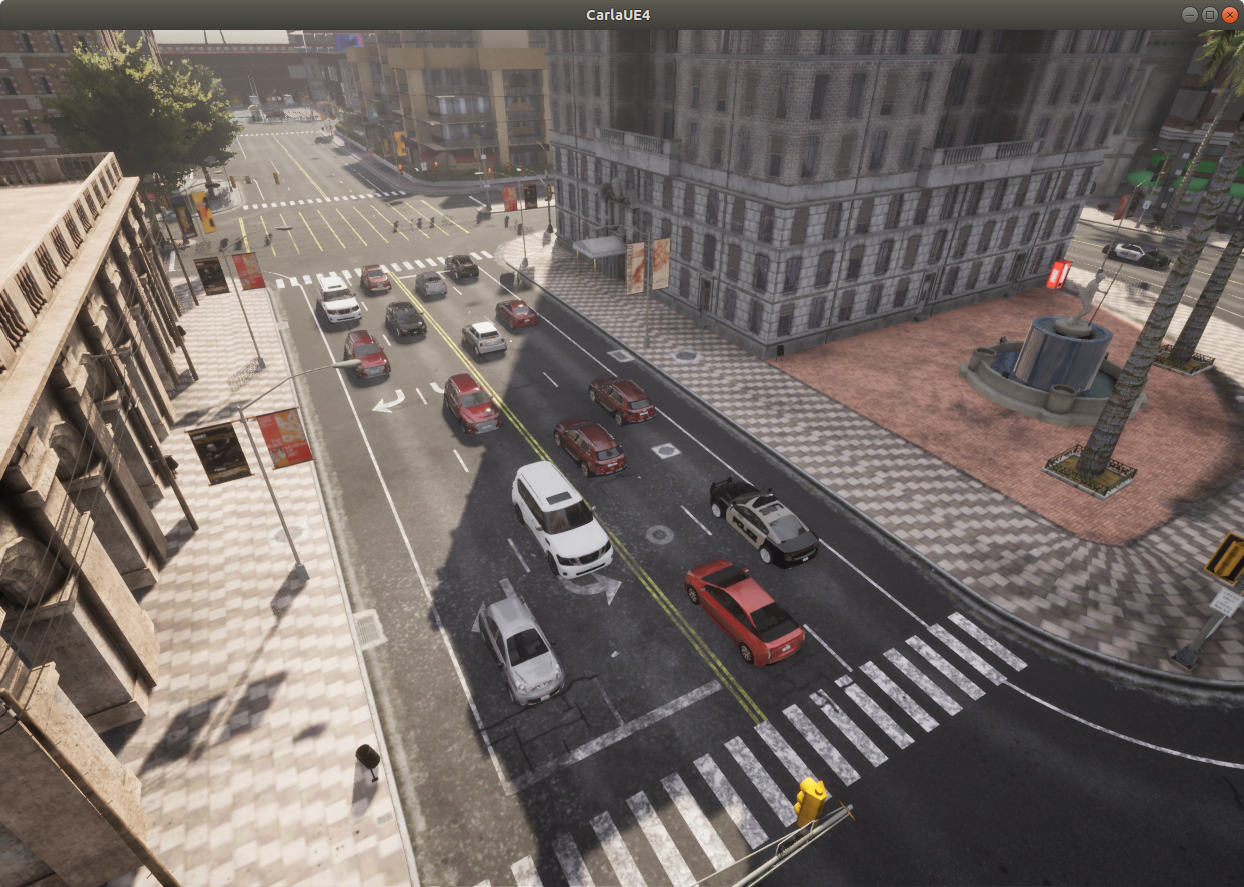
Now we can note down the spawn point indices we are interested in and fill this street with vehicles:
for ind in [89, 95, 99, 102, 103, 104, 110, 111, 115, 126, 135, 138, 139, 140, 141]:
    world.try_spawn_actor(random.choice(vehicle_bps), spawn_points[ind])
Or spawn randomly throughout the map:
for ind in range(0, 100):
    world.try_spawn_actor(random.choice(vehicle_bps), random.choice(spawn_points))
Actors and blueprints
Actors are the objects within the CARLA simulation that have an affect or act upon other objects in the simulation. CARLA actors include vehicles, pedestrians, traffic lights, road signs, obstacles, cameras and sensors. Each actor requires a blueprint. The blueprint defines all the necessary elements needed for an actor, including assets such as meshes, textures and materials and also any logic required to govern the behavior of the actor. To spawn an actor, we need to define it with a blueprint.
CARLA provides a comprehensive library of blueprints including numerous types and models of vehicles, numerous pedestrian models and traffic lights, boxes, trash cans, shopping carts and traffic signals.
We can use CARLA's blueprint library to find and choose an appropriate blueprint for our needs:
# Print all available blueprints
for actor in world.get_blueprint_library():
    print(actor)
The blueprint library can be filtered to narrow down our search:
# Print all available vehicle blueprints
for actor in world.get_blueprint_library().filter('vehicle'):
    print(actor)

vehicle_blueprint = world.get_blueprint_library().find('vehicle.audi.tt')